Showing posts with label diy. Show all posts

Friday, February 13, 2015

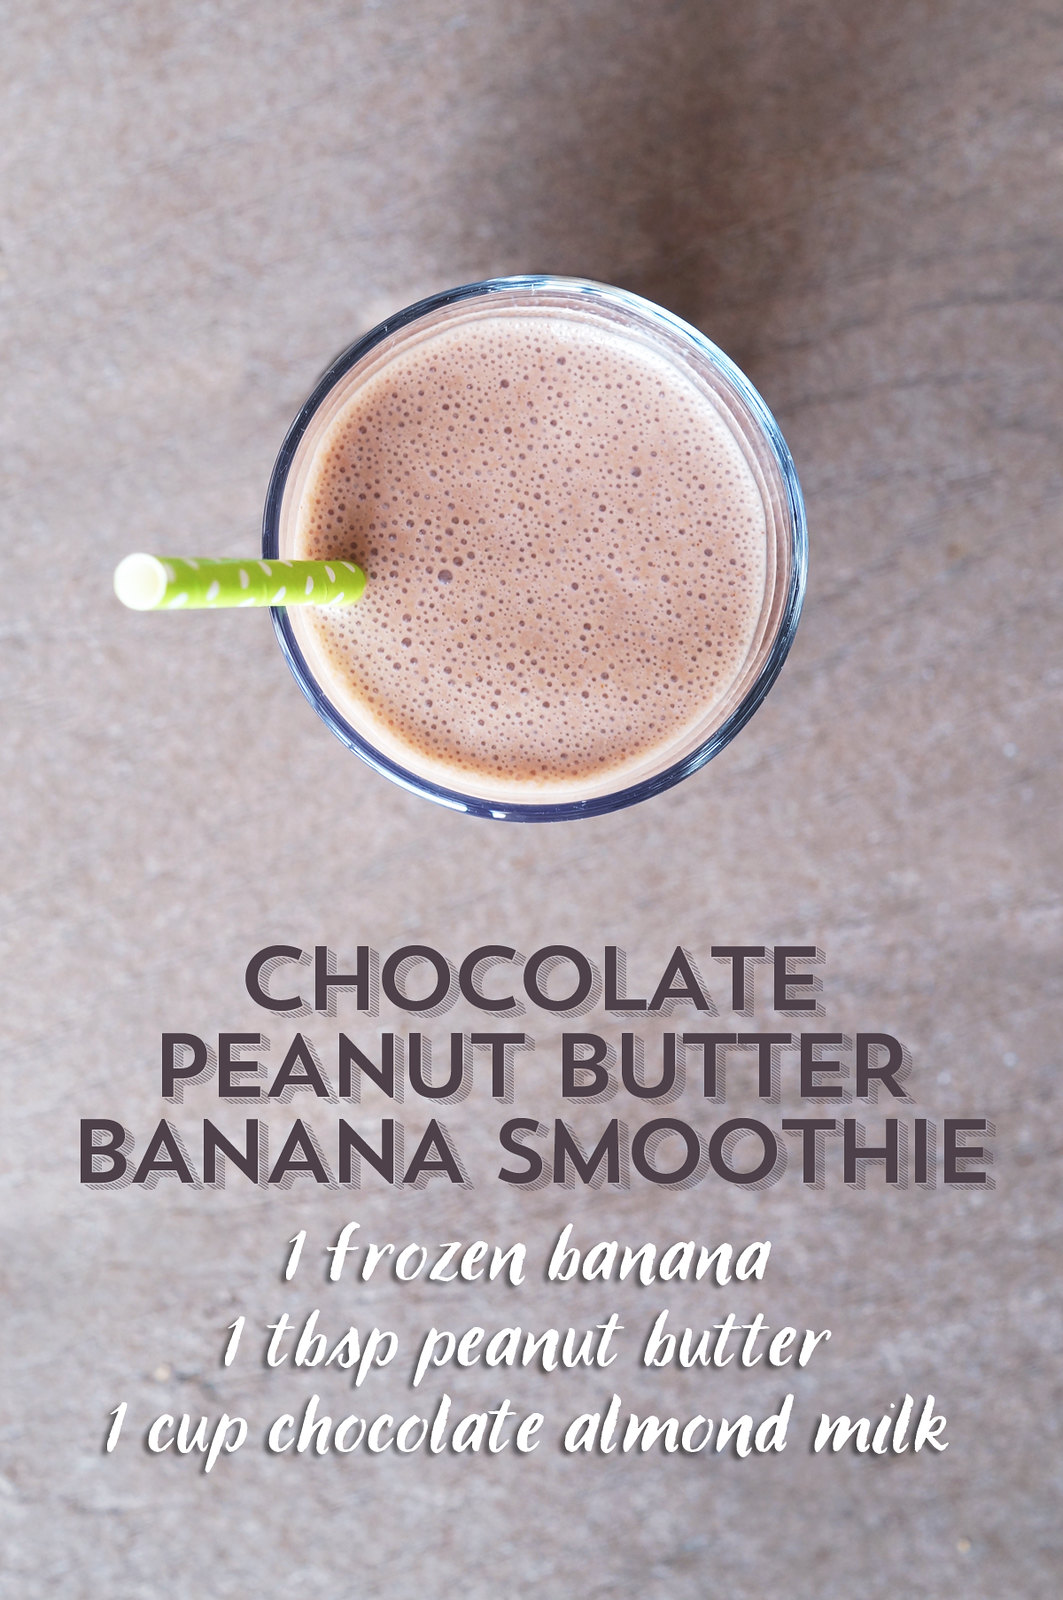
Chocolate Peanut Butter Banana Smoothie Recipe

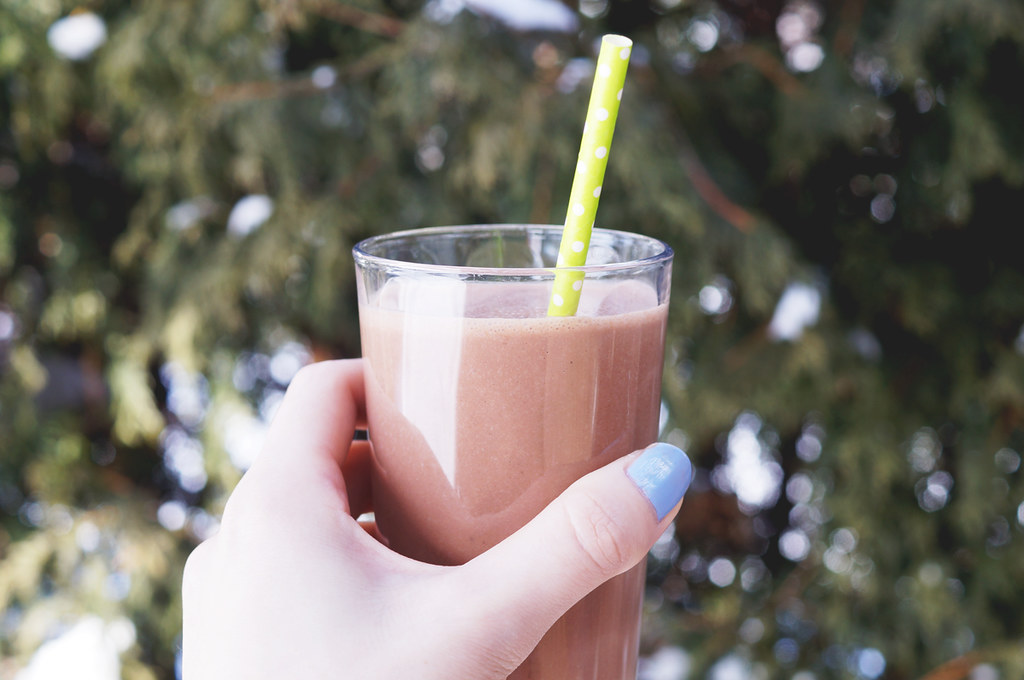
“chocolate “chocolate Lately I've been really into making smoothies. They're so quick and easy to make and they're so tasty! Today I thought I'd share with you my current favourite smoothie recipe. It only takes a few ingredients and a couple of minutes to put together and it's absolutely delicious.

All you need for this smoothie is:
  • 1 frozen banana (I freeze mine the night before, and I cut it into about 6 small pieces before freezing)
  • 1 tablespoon of peanut butter (any brand is fine. you could even try almond butter, Nutella, or other spreads!)
  • 1 cup of chocolate almond milk (you can add a little extra if you like the consistency to be less thick)
Then you just blend it together and serve! If you don't have time to freeze bananas you can use unfrozen ones and add a few ice cubes to make it cold and give it a thicker consistency, but I prefer just to use frozen bananas! You can also half this recipe for a snack, or make it this way for breakfast! This smoothie is so sweet and delicious, and will definitely satisfy your sweet tooth!

What are your favourite kinds of smoothies to make? Any suggestions as to what I should try?

Wednesday, January 21, 2015

How to Take Better Blog Photos | 7 Helpful Tips

“better Over the past few years of blogging, I've taken hundreds or even thousands of photos for my blog. And through all of that trial and error I have picked up an idea of what works well and what doesn't. Today I thought I'd share with you some tips I've learned about how to take better blog photos! And remember, these are just tips that work for me. You may do things different than I do and if you do and you're happy with your photos then keep doing just what you're doing! I'm just sharing for those who might be curious as to how I take my blog photos!

1. Natural light is your best friend. Out of all the different lighting situations I've tried, natural light always looks the best. I've tried using regular light, and even a daylight lamp, but lights tend to have quite a harsh look in photos and cast dark shadows. I take most of my photos on my desk which is right in front of a big window. For me, the best time to take photos is between 11am and 1pm when it's nice and bright outside! I also hold a piece of white bristol board on the opposite side of my desk that the light is coming in to bounce the light onto the other side of the products I'm photographing. This bouncing technique also helps to eliminate any harsh shadows in your shot.

2. Keep it clean. When taking pictures of products (or anything, really) a nice clean background will help to keep the focus of your photos on the items your photographing, without a distracting background getting in the way. I mostly like to use a solid white backdrop. (If you don't have a white desk or table, white bristol board works great and is super inexpensive. You can just replace it when it starts to look grubby.) I also like the look of a subtly textured background such as light/white woodgrain, marble, or a soft knit or fabric. You can also try adding a small sheet of fun paper or tissue paper to add something to the background!

3. Add some flair. If you're taking pictures of 1 or 2 small items, the shot can be kind of boring if it's just the item with nothing else in the shot. I really like to add some small props or accompanying items to help fill up the shot a little more and add some interest. Some items you can add are rings, small decorative dishes, sunglasses, magazines, notebooks, small plants, a makeup bag, or any other small accessories or items that relate to the subject you're shooting in some way!

4. Avoid flash. This tip kind of goes with the first one I mentioned, but please avoid flash if at all possible. Flash creates harsh light and shadows and also reflects off of the items you're photographing. Especially if you're a beauty blogger and you're taking photos of products that often have plastic packaging, the flash will bounce right off of it. Natural light gives a much softer look to the lighting in the photo and will look much better!

5. Digital camera > phone camera. I know cell phone cameras have gotten quite good over the years, but chances are you also own a digital camera, and chances are it takes higher quality photos than your phone does. A digital camera also should have more manual settings that you can adjust to make the most of your photos! Just try it out, put your phone down next time you're taking blog photos and play around with your digital camera instead!

6. Try a different angle. This is one tip I need to take to heart a little more, but instead of shooting your products at one angle (my go-to is the birdseye view), take some photos at different angles too! Don't be afraid to try new compositions or angles for your photos because you may surprise yourself and really like what you come up with! And don't be afraid to take too many photos. Sometimes I take 50+ shots just for one or two of them to actually show up on my blog. You can always delete the ones that don't work later!

7. Edit your photos. I'm not saying everyone has to go and buy Photoshop or anything, but use the resources you have to edit your photos a little bit before posting them to your blog. I use Photoshop and occasionally Lightroom to edit my photos. If you don't have access to those programs you can use iPhoto or even a photo editing app on your phone to edit (just email your chosen photo(s) to yourself and save them to your phone. Use an app like Afterlight or VSCOcam to edit and save your pics, then email them to yourself again and save them on your computer!). Photos can always benefit from a slight brightness/contrast boost, and you can go into colour correcting, Curves, and Levels if you're more comfortable with editing.

Like I mentioned above, these are what works for me! If you have different techniques that work for you then that's great too!

Let me know below if you think you'll try out any of these tips!

Sunday, December 14, 2014

Christmas Wrapping

“christmas I am all about cute stationery and paper products. So, as you may be able to guess, I get really excited about cute gift wrap for the holidays! This year I'm really pleased with how my gift wrap items came together so I thought I'd share it here on my blog! I got the polka dot and fox gift wraps, the baker's twine, and the red glitter tape all from Target and the Happy Holiday's card from Indigo/Chapters! I love mixing patterns but staying within a colour scheme and the adorable foxes on that wrap make me so happy! I also enjoy using fun tape to make the gifts more special as well. I'm so excited to finish wrapping all my Christmas presents for friends and family and to give them their adorably wrapped gifts!

Saturday, February 15, 2014

200th Post!

Having this blog has been quite the roller coaster. I've had this blog since July 2012, and even though my blogging on here hasn't always been the most consistent (oops!), I'm so happy to be back (hopefully for good this time) and I can't believe this is my 200th post. To celebrate I thought I'd share some of my favourite blog posts from the past couple of years!

DIY Nail Polish Rack
DIY Nail Polish Rack // Look how tiny my nail polish collection was back then! I'm still currently using this shelf though it's kind of falling apart now due to me overflowing the shelves with nail polish. I actually plan on getting something new to store my nail polishes in sometime this week, so keep an eye out on my blog for when I share it with you! This post is probably my most pinned, shared, and viewed post. I'm glad I could help some people make storage for their nail polishes!

DIY Studded Shorts
DIY Studded Shorts // This was such a fun and easy DIY to do! I still have the shorts too and will probably break them out again this summer!

Outfit of the Day
Outfit of the Day: Skulls & Leopard Print // I still love this outfit. I keep forgetting I have that handbag, I need to use it more because it's so cute!

Smashbox Studio Pop Ultimate Palette
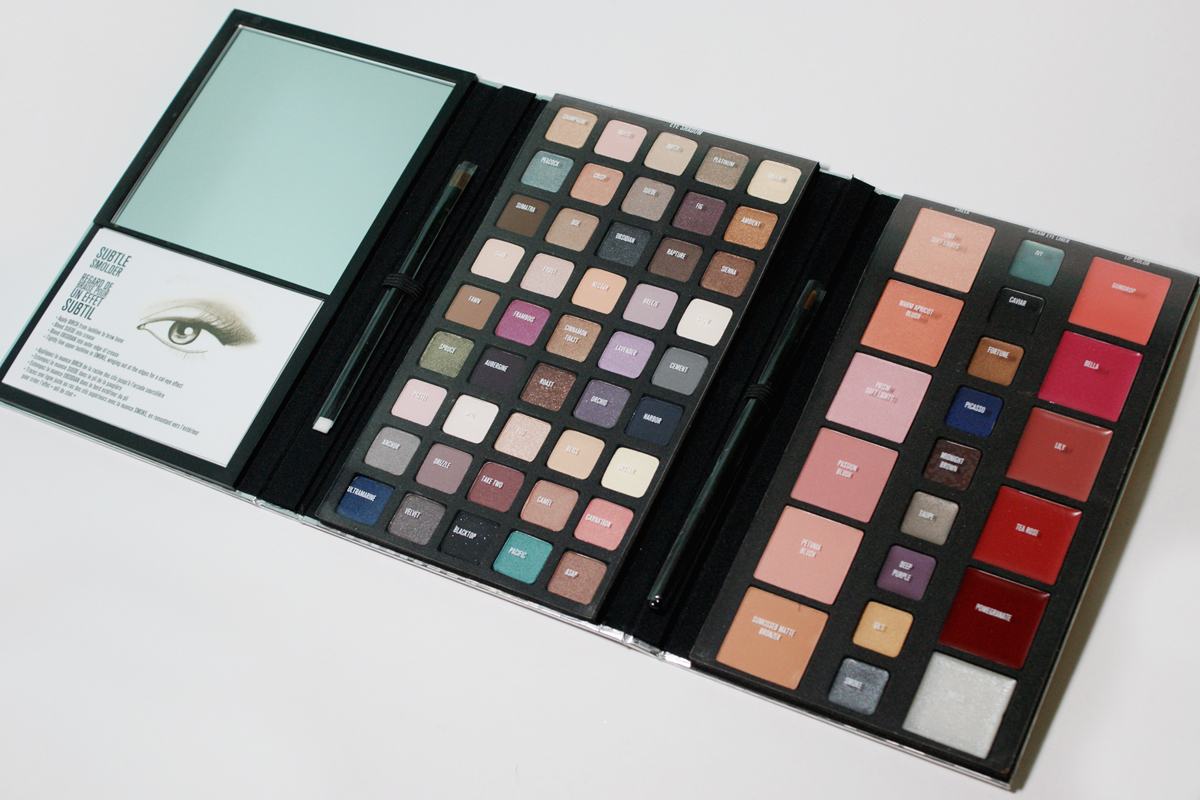
Smashbox Studio Pop Ultimate Palette Review & Swatches (1/2/3// This was quite the palette to review and swatch. I covered it in three separate posts - one about the palette, brushes, and cards, one about the eyeshadows, and one about the blushes, eyeliners, and lip products! I don't use this palette very often because it's so huge and not as easy to get to, but it still is a fantastic palette and I can't believe I got it for only $25!

Neon Unicorn Nails
Nail of the Day: Neon Unicorn // I don't think I've ever recieved more compliments on my nails than I did during the week I wore this manicure. It was so much fun to create this manicure and use the unicorn charm from Hex Nail Jewelry!

Gold and Blue FOTD
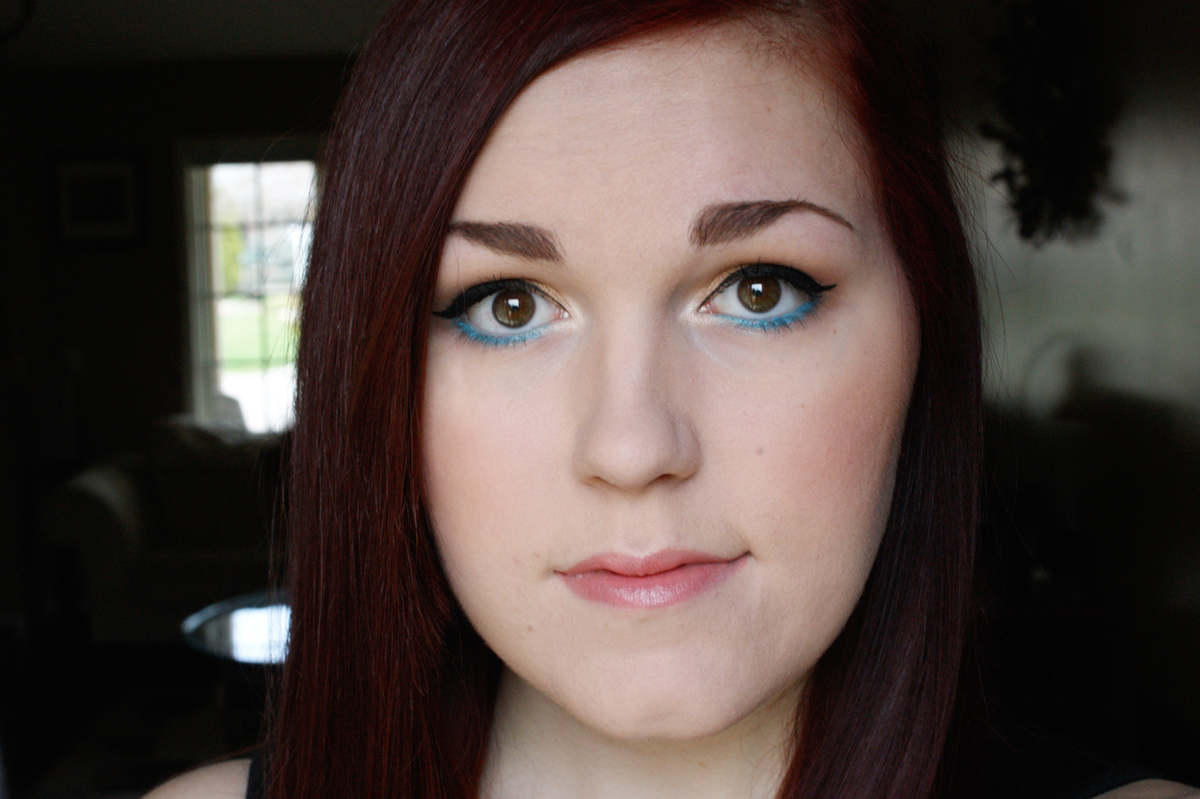
Face of the Day: Golden + Blue // I really love how my makeup looked this day. I love doing looks like this in the summer time, and this makes me really miss summer!

Polka Dot and Floral Nails
Nail of the Day: Polka Dots + Flowers // This is another favourite manicure that I've done. I did it based off a tutorial that MissJenFabulous on YouTube did, and I was really pleased with how it came out! This will have to be a manicure I do again come springtime!

MAC All About Orange Collection Blush and Lipstick
MAC All About Orange Collection // This post was pretty exciting for me because I was sharing my very first MAC lipstick and blush with you all! Since then I have added a few more MAC lipsticks to my collection, but this blush is still my only blush from them! It's still my favourite and go-to blush as well.

Aqualillies for Tarte Palette
Aqualillies for Tarte Waterproof Eye & Cheek Palette // This palette was my go-to palette all summer long. It has a beautiful mix of golden toned neutrals and a pop of teal. It also includes a gorgeous blush, bronzer, and highlight! I'm still not over how beautiful the packaging is too!

Maybelline Color Tattoos
Maybelline Color Tattoos // I don't know what took me so long to finally try these, but once I did I became obsessed. I've added a few new ones to my collection since I made this post too! They're still a staple in my makeup routine as well.

Leopard Print and Striped Nails
Nail of the Day: Leopard Print + Stripes // This is another favourite manicure I've done. I love the mix of the two bold patterns, such a fun combo!

Thank you all so much for reading my blog these past couple of years! I hope to be in it for the long-haul this time around, so here's to 200 more posts in the future!

Friday, May 10, 2013

Recipe: Best Taco Dip Ever!

There is a taco dip my mom has made for years and I made it today and I thought I'd share the recipe with you! It's a really simple recipe and it is so delicious! My entire family and all my friends love it. Here's how to make it.

First, we mix together cream cheese, sour cream, and taco seasoning for the base layer of the taco dip. You can add more or less sour cream to make it thinner or thicker to your liking.

Pour the cream cheese mixture into a shallow dish (pie dishes work great!) and spread it out with a spatula. Use a larger dish (or 2 dishes) if you want this layer to be thinner, or use a smaller dish for a thicker layer!

Next, pour a layer of salsa on top of the cream cheese mixture and spread it out gently with a spatula. I prefer to use mild salsa, but if you prefer something with more of a kick, go ahead and use spicy!

Last, top all that off with a layer of shredded cheese! Use freshly grated or pre-shredded cheese, it's up to you! And add as little or as much cheese as you like (I prefer to go with lots of cheese!).

This recipe is totally customizable too. This is the very basic version of it. Sometimes my mom likes to add chopped peppers, bacon bits, tomatoes, green onions, and other things before the cheese is added! Just add what you like!

Now just take out a bag of Tostitos (the scoops work great!) and enjoy!

Here's the recipe written out too!

If any of you decide to try this out I'd love it if you let me know how you liked it! It takes maybe 5-10 minutes to put together and it's something I'm sure you and your friends will enjoy!

Saturday, September 1, 2012

DIY: Studded Shorts


I've seen a lot of studded clothing lately and I love the look of it so I thought I'd stud a pair of my shorts! It's really easy and inexpensive to do yourself, so I'm going to show you how I made mine!

What you'll need:

  • a pair of shorts (I'm using a pair that I made from old jeans a few years ago)
  • studs (I took mine off of an old studded belt, but you can buy them for super cheap on eBay!)
  • a butter knife (optional, I only used this for the first few studs and then ended up using my thumb nail)


1. First figure out where you want to place your studs. I chose to stud the inside of one of the front pockets. Once you have that figured out, start studding! Starting in a corner, poke the spikes on the back of the stud through your shorts.

2. Using a butter knife, or your fingernail, press down the spikes inwards.

3. That's it! Just keep repeating this with the studs creating the shape/pattern you want! I started by doing the outline of the pocket first, and then filled in the inside.

It really is easy to do and I love the way mine turned out! You can use this technique to stud any items of clothing too. Have fun studding :)!


Saturday, July 21, 2012

DIY: Chevron Nails

Since I've been obsessed with chevron manicures lately, I thought I'd show you guys how I do mine! It's super easy to do and really cute. Just keep on reading to see how I do them!


Thursday, July 12, 2012

DIY: Nail Polish Rack

I've been wanting to buy a nail polish rack for quite some time now, but didn't really want to pay $30-$40 for one. After seeing a couple of tutorials online, I decided I'd make my own! If you want to learn how I made mine, just keep on reading! I ended up making mine for only $6 since the only thing I had to buy was foam boards. The rest of the materials I had at home!